Adam
Adam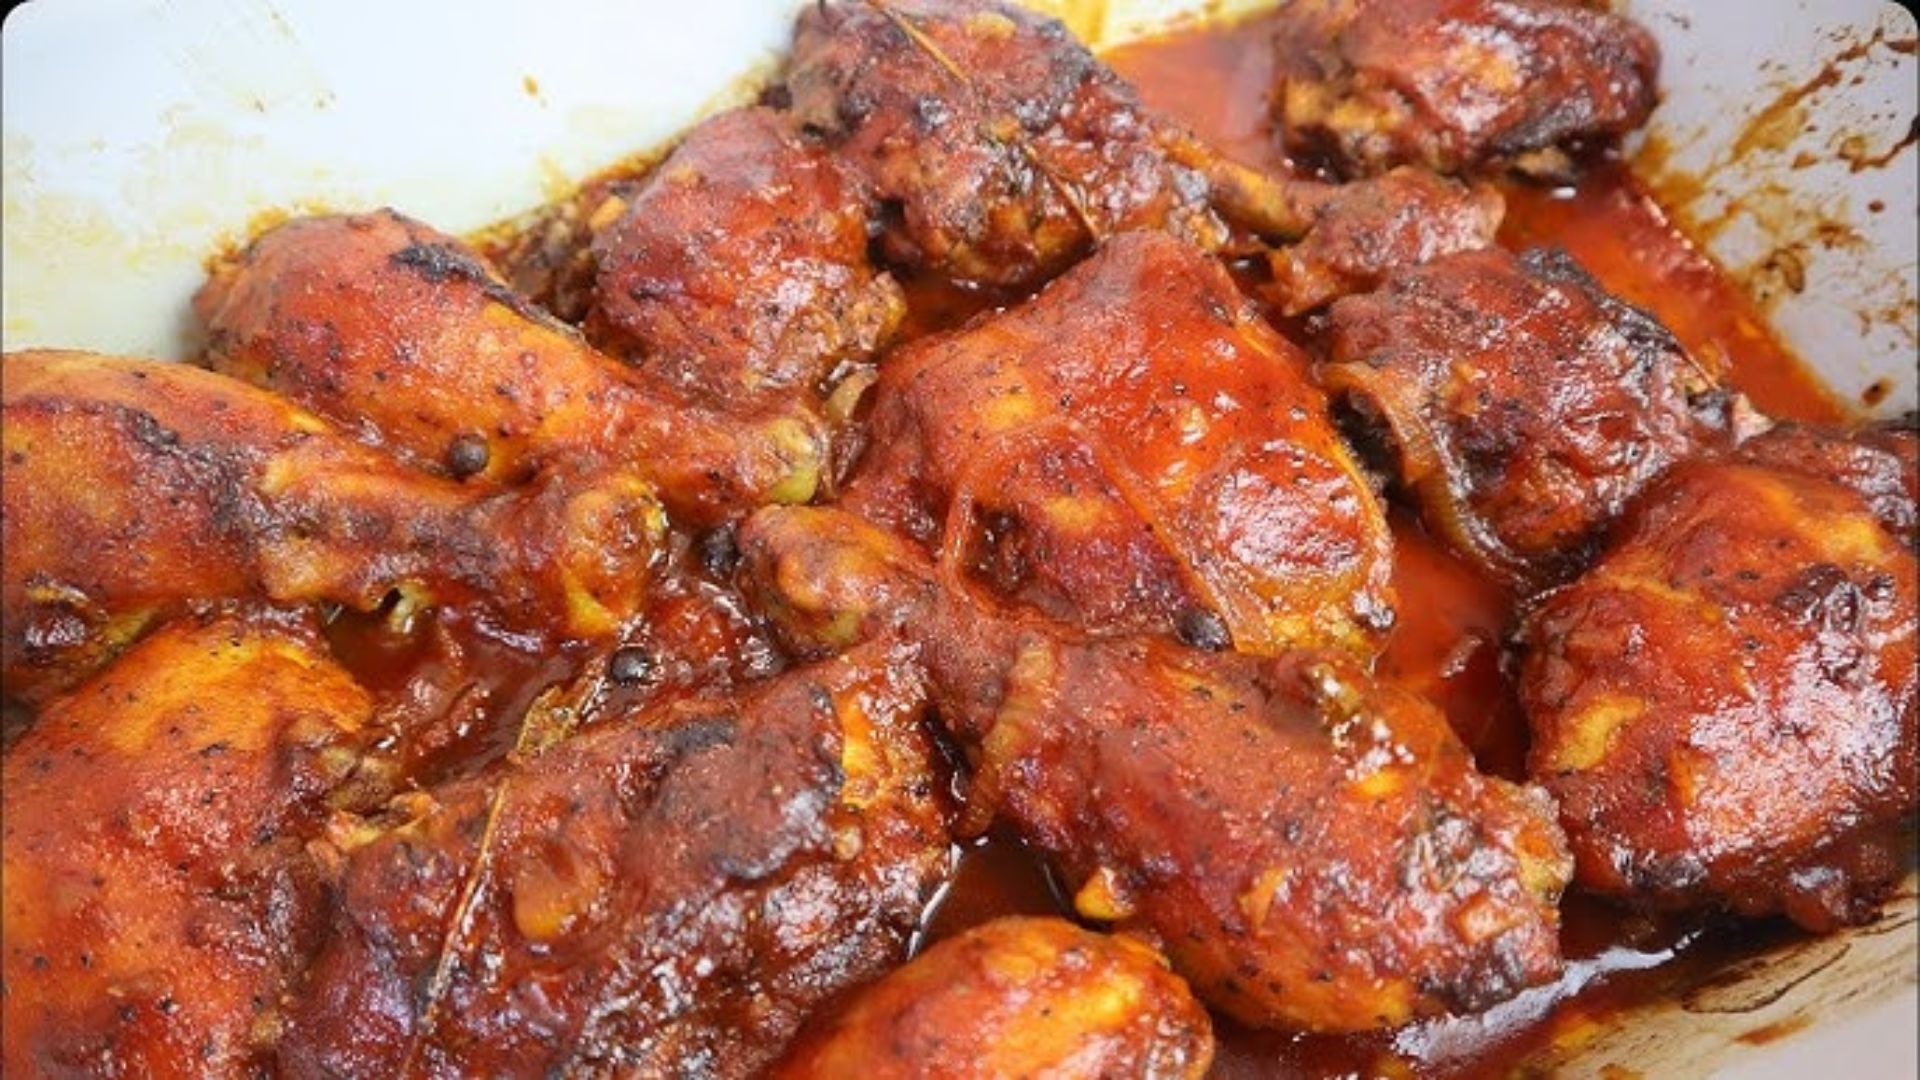
hey guys lets talk about chicken backs (theyre way underrated trust me)
Alright fine, let’s be honest. When you hear “chicken backs,” the first thing that comes to mind is something that is never going to make it to your plate — or, at best, might end up in doggy dishes. But hold up! These curved spine pieces – the ones packed with bones, cartilage, and all that connective tissue – are actually your secret weapon for incredible flavor. Think of them as the foundation for the most amazing broths and stews you’ve ever made. They’re loaded with the stuff that turns plain water into liquid gold when you simmer it low and slow. The best part? They come in cents in contrast to fancy cuts. Chicken backs are not only clever cooking, they are making the best out of the bird and have a feeling of self-contentment. In all seriousness, do take them up and your soups will never be identical.

The Surprising Goodness in Chicken Backs
Don’t write off these chicken spine pieces as just bones! When you simmer them for hours, magic happens. Such bones release minerals such as calcium and magnesium the good minerals that assist in keeping our bones strong. Better still, all the cartilage and connective tissue can be converted into gelatin. It is not only about giving your broth a silky look; gelatin is terrific in terms of gut health and may even smooth out hoariness in your joints. Although you might not get a big piece of meat such as a chicken breast, the goodness that does release into your broth contains amino acids that can help fight against inflammation. It feels like a stealth health shot with every spoonful making what appears to be leftovers into a true nutrient juggernaut.
Your Ticket to Unbelievably Good Homemade Broth
Want broth that puts the store-bought stuff to shame? Chicken backs are your golden ticket. Because they’re mostly bone and cartilage, they release tons of collagen as they simmer. That collagen is what gives truly great broth its rich body and that satisfying, slightly sticky mouthfeel. Here’s how simple it is: Toss your chicken backs into a big pot, cover them completely with cold water, throw in an onion (skin on for color!), maybe a carrot and a couple of celery stalks, and a bay leaf. Just bring it up to a gentle simmer–lazy little bubbles lazily floating up to the top, not a boil. Then, walk away. Let it bubble happily for 4, 5, even 6 hours.
Stretching Your Grocery Dollars with Chicken Backs
Let’s talk about the budget. Chicken backs are seriously one of the most economical things you can put in your cart. Pound for pound, they often cost a fraction of what you’d pay for breasts, thighs, or even wings. Think about it: One bag of these chicken spine pieces can yield quarts of rich, flavorful broth. Compare that to the price of those cardboard boxes at the store! Plus, once your broth is done, don’t toss those backs just yet. Pick through them carefully. After the long simmer, you are going to enjoy how much fallen-off-the-bone tender and flavorful meat hangs off those bones. Shred it up! Such meat is ideal to add in soups, stir into chicken salad, stuff in tacos, or combine with a casserole. A single simple little inexpensive box can just turn into several different meals. That’s smart cooking.

Doing Good For Your Kitchen and the Planet
Choosing to cook with chicken backs isn’t just good for your wallet and your taste buds; it’s a genuinely eco-friendly choice. So much of the chicken gets wasted commercially – parts like backs often get ground up for pet food or just thrown out. By grabbing a pack of chicken spine pieces, you’re actively participating in “nose-to-tail” eating. You’re making sure more of the animal is used and valued. This ensures less resources (such as water and feed) in general since we now get more out of each chicken in terms of meals. On top of that buying back stock means that you ditch the entire plastic packaging that accompanies in-store stock. It is a small effort, granted, but it brings satisfaction that besides making a tasty broth you are doing something good to the planet too.
Where to Buy Chicken Backs
“Okay,” you might be thinking, “this sounds great, but where do I actually find chicken backs?” Don’t worry, they’re easier to track down than you might expect. Your best bet is often a local butcher shop. They break down whole chickens all the time and usually have backs readily available, often frozen, and super cheap – usually just a dollar or two per pound. Don’t see them? Just ask! Most butchers are happy to sell them. Farmers’ markets with meat vendors are another great spot. Also, check out Asian or Latin grocery stores; they often embrace using the whole animal and frequently stock chicken backs. If you prefer online shopping, some meat delivery services offer them too, sometimes even organic or pasture-raised options. Just look for backs that look fresh (pinkish, not gray) and smell clean.
Keeping Chicken Backs Fresh and Safe
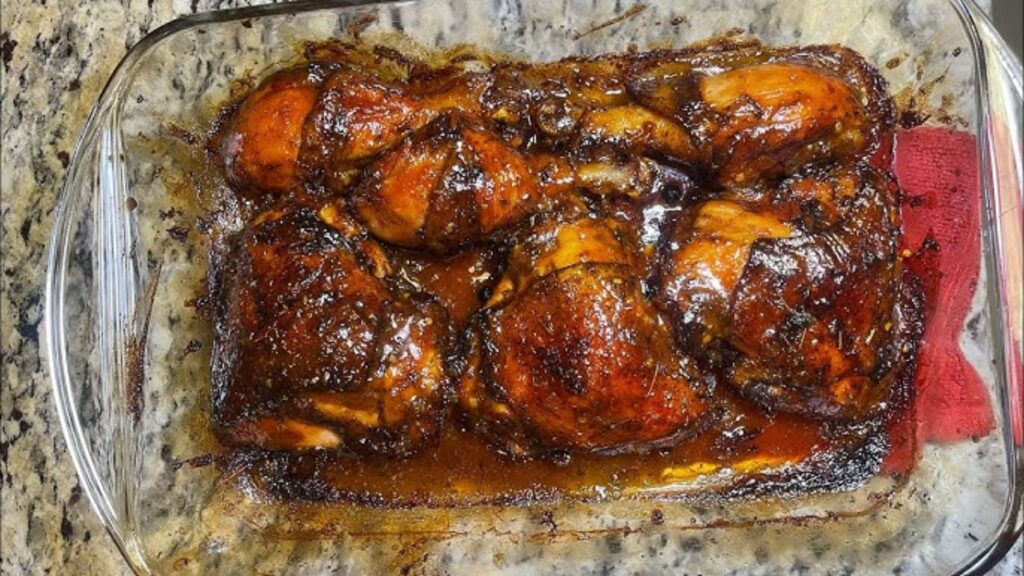
Handling chicken backs is just like handling any raw chicken: keep it cold and keep things clean. When you get them home, either use them within a day or two, or pop them straight into the freezer. They’ll keep well frozen for several months. Safely thaw them in the fridge overnight and not on the counter. Proceed by rinsing them briefly, in cold water and patting dry before cooking. To bring out the richest taste in your broth, roast backs, first. Just spread them on a baking sheet and roast at 400°F for about 20-25 minutes until they get nice and golden brown. This step adds incredible depth.
Busting Common Chicken Back Myths
Let’s clear up some confusion about chicken backs. First myth: “They’re just garbage bones.” Nope! As we’ve seen, they’re packed with flavor potential and usable meat. Second myth: Back broth is inferior to other kinds of broth. In fact, they have a lot of bone and cartilage, which usually produce a gelatinous, tasty broth more than that made with wings or feet only. Third myth: “They must be low quality or unsafe.” Not true! The back of chicken is no different to stock to sell to any person in the aspect of safety compared to breast or thigh. Just like some meat, freshness is important. Fourth myth: Cooking with them is too difficult or messy. One of the most simple things you could ever do in the kitchen is to simmer them to make broth!
Simple & Tasty Ways to Use Your Chicken Backs
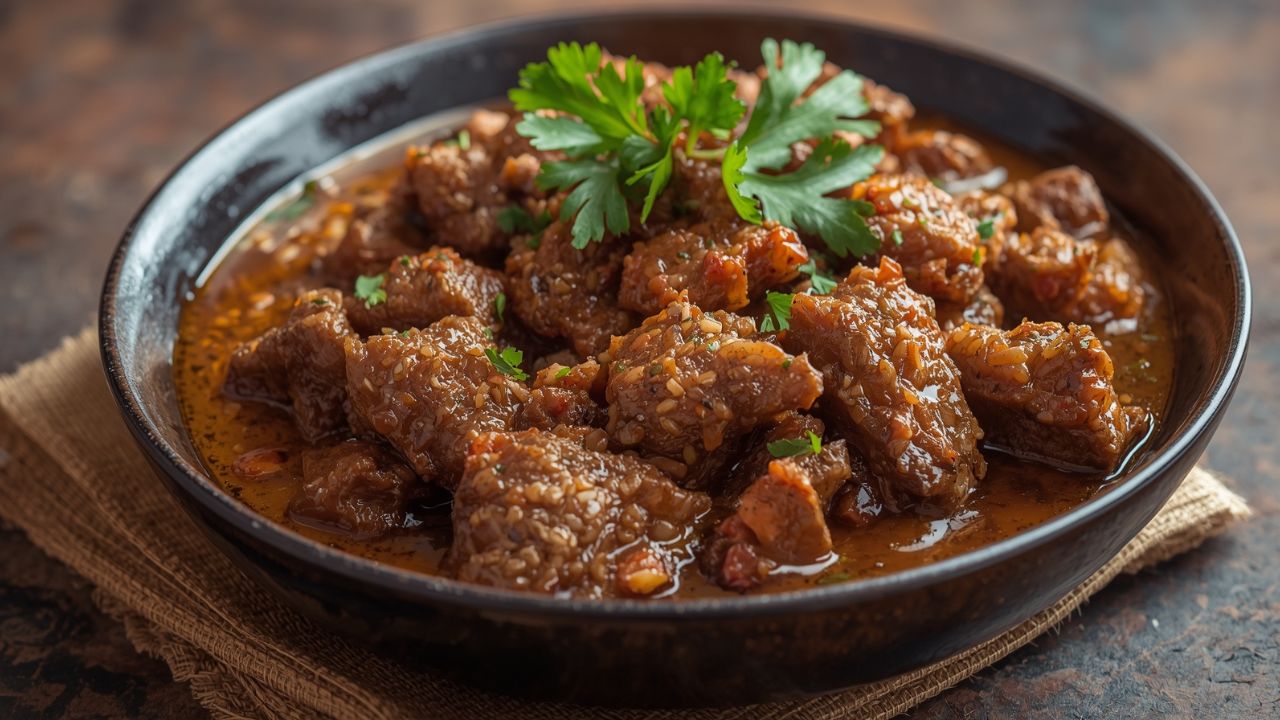
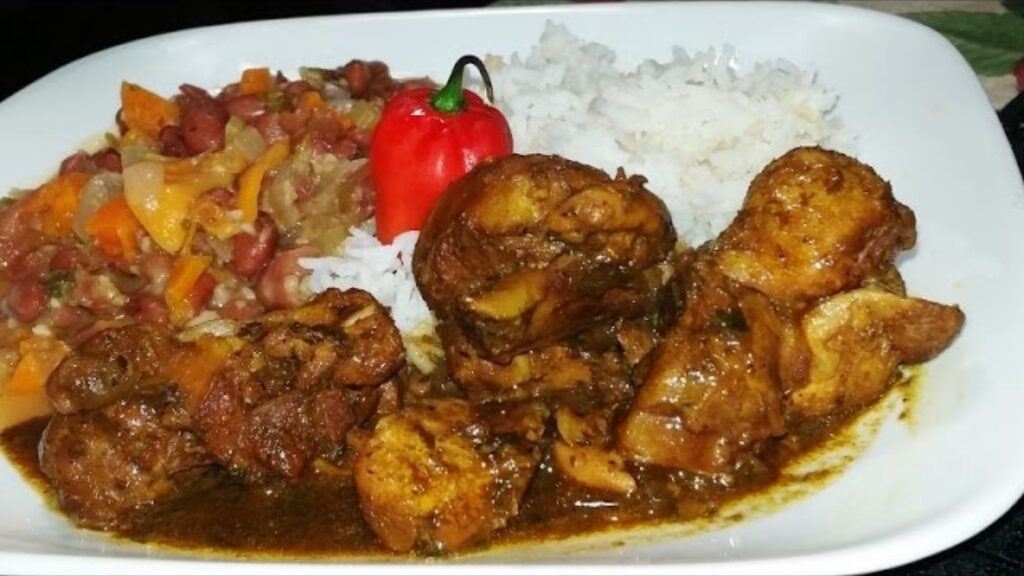
Ready to cook? Start with the classic: Rich Chicken Broth. Simmer 2 lbs chicken backs with a roughly chopped onion, 2 carrots, 3 celery stalks, a handful of parsley stems, a bay leaf and 10-12 cups cold water (4-6 hours). Just strain it, sprinkle it with salt and there is liquid gold. In the mood for something solid? Try Chicken Back Stew. In a pot, brown the backs, to which you add chopped onions, carrots, potatoes and celery. Add as much water or store-bought broth as will cover (preferably enough to cover plus a little extra) and proceed to simmer and cook it until the meat falls off the bones approximately 1.5 hours. Chop the meat back into the stew, thicken it, if you want to, and dish it up.
Difference Table
| Feature | Chicken Backs 🦴✨ | Other Chicken Cuts 🍗 (Breasts, Thighs, Wings) | Store-Bought Broth 🥫 |
| Flavor Power | Secret weapon! Deep, rich, savory base from bones & cartilage. Makes “liquid gold” broth. | Great for meat-focused dishes, less for broth depth. | Often thin, salty, lacks real chicken depth. |
| Cost | Budget hero! Costs pennies per pound. One pack = quarts of broth + shreddable meat. | $$$ per pound. You pay mostly for meat. | $$$ per quart. Quality brands cost even more. |
| Texture | Silky & satisfying! Simmering releases tons of collagen for thick, jiggly, restaurant-style broth. | Meat stays tender, but bones alone won’t gel broth. | Watery or artificially thickened. No natural “jiggle.” |
| Eco-Friendliness | Win for the planet! Uses often-wasted parts. Reduces food waste & packaging. | Standard cuts use popular parts only. | Plastic cartons/cans = landfill waste. |
| Versatility | Kitchen MVP! Makes epic broth, stews, adobo, plus hidden meat for soups/salads. | Best for pan-frying, grilling, and baking. | Only broth/stock. No meat, no other uses. |
| Health Perks | Gut & joint love! Mineral-rich (calcium, magnesium) + gut-healing gelatin. | Lean protein (breasts) or iron/fat (thighs). | Often high in sodium, low in real nutrients. |
Why Chicken Backs Deserve a Spot in Your Kitchen
So is chicken backs worth it? Absolutely! They go through various stages of being shunned, ignored, simple ingredients to being the support structure (literally!) of the amazing flavor. The open up deep, nutritious soups that can turn any lentil soup, sauce or gravy into a chef-created dish. They will see you through to the ends of your grocery budget than you ever imagined. The will allow you to cook in a more sustainable fashion that will avoid waste and will be mindful of the entire animal. And honestly? They simply are easy and forgiving to prepare. The next time you are in front of the butcher counter or even when going through the freezer shelves, take 1 pack of chicken backs. Cook them low and slow, and taste the difference, and understand why resourceful cooks have turned to these taste bombs over the generations.
FAQs
1. What exactly are chicken backs?
These are the curved spine sections of the animal left after slaughtering, full of bones, cartilage and connective tissue. Look at it that they are the unseen support of great taste not garbage!
2. Why are chicken backs so cheap?
Because they’re often overlooked! Butchers sell them for pennies per pound since demand is low. This makes them a super budget-friendly way to make rich broth and get tender shreds of meat.
3. Are chicken backs actually good for you?
Yup! The simmering liberates minerals (such as calcium) in the bones and gut-friendly gelatin in the cartilage into your soup. It is a healthy, mineral-enriched soup source and sauce base.
4. Where can I find chicken backs?
Look in your butcher shop, the local farmers market, or ethnic/Latin grocery store. Ask at the butcher shop if you can not see them. They have them frozen or fresh and are very willing to sell them off cheap.
5. Is it true chicken backs are just for pet food?
Heck no! That is a myth. The world over recipes are made with them (Pho, from Vietnam and Adobo, from the Philippines being prime examples). They make the best homemade broth and are totally meant for your kitchen.